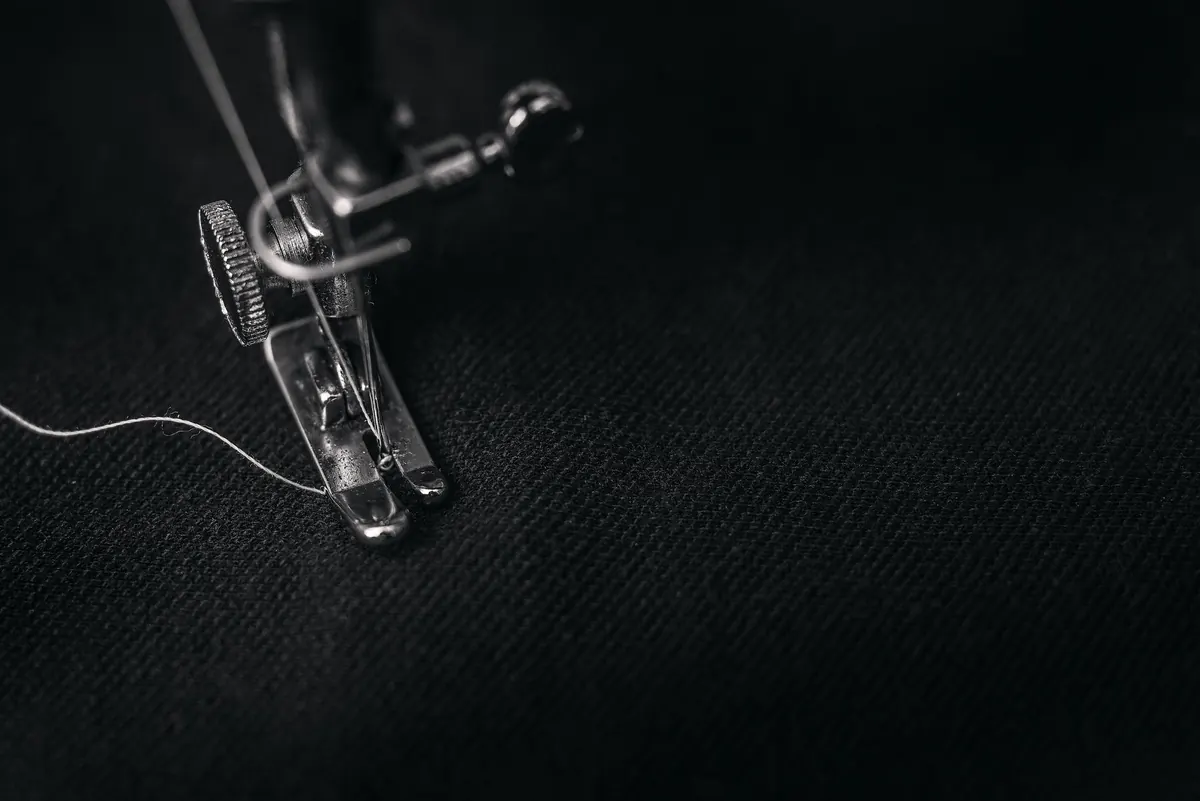
You have just sewn a long straight seam — a curtain hem, a cushion cover, the side of a tote — and instead of a clean line of stitching you have a rippled edge that looks as if the fabric has been gathered with a fork. Nothing is broken. The machine sounds normal. The stitches themselves look even. And yet the seam sits there, wavy and slightly tight, refusing to press flat.
Puckering is probably the most common complaint in home sewing, and the cause is almost always something small: a dial turned two numbers too high, a needle that has done one project too many, a hand pulling gently on the fabric out of pure habit. Diagnosis takes a minute and the fix usually costs nothing. Here are six mistakes behind most puckered seams, in the order worth checking, with the adjustment for each.
The bobbin case has a reputation for mystery, so it gets blamed first. But bobbin tension is set at the factory and, on most machines, it stays correct for years. The needle thread is the one you adjust — that is what the numbered dial on the front of the machine is for, and it is the dial that most often ends up too tight.
Turn the top tension down by one number, sew a test seam on two layers of the same fabric, and look at the result. Repeat until the pucker relaxes. Most machines behave well somewhere between 4 and 5 on the dial; if you find yourself below 3 and still fighting the fabric, stop adjusting and look at the needle and stitch length instead.
One related trap: thread the machine with the presser foot up, then lower it before sewing. The tension discs only close when the foot is down. Thread with the foot down and the thread never seats between the discs, which produces loose, looping stitches that can drag the seam into a pucker.
A needle that is too large for fine fabric does not slip between the threads — it wedges them apart. The fibres cannot spring back, so the fabric draws up along the stitch line and you get small holes at the seam as a bonus.
Match the needle to the cloth rather than to whatever is already in the machine:
And check the point. A needle that has been through a few projects is often slightly dull or hooked at the tip, and it will drag the fabric down through the needle plate with every stitch. Change the needle at the start of each new project; it is the cheapest repair your machine will ever get.
Long stitches and lightweight fabric are a poor pairing. A 3 mm stitch in cotton voile draws up the fabric between every hole, and the whole seam takes on a gathered look. Shorten the stitch length to roughly 2 mm for light wovens and 2.5 mm for medium cotton, and the pucker often disappears before you touch the tension at all.
Going too far the other way causes its own trouble. Very short stitches in heavy fabric force too much thread into a small space, and the seam buckles and knots underneath. If that happens, lengthen the stitch slightly and check that the thread weight suits the needle — a heavy topstitching thread through a size 70 needle will bunch no matter how carefully you set the tension.
The feed dogs move the fabric. Your hands only guide it. Pulling from behind, or holding the fabric back in front to "help" it stay straight, stretches the top layer against the bottom one. The seam looks fine as it leaves the needle, then contracts into ripples the moment you let go.
Rest your fingers beside the fabric, not on it, and let the machine do the work. For long or heavy pieces — a curtain panel, a quilt sandwich, a canvas bag — take the weight on the table or in your lap so it is not hanging from the needle. Start each seam with both thread tails held back for the first few stitches so they do not get dragged underneath.
For slippery lining, stretchy jersey, velvet or anything with a nap, fit a walking foot. An even-feed foot moves the top layer at the same rate as the bottom, which is exactly what you need when two layers refuse to behave the same way.
Many machines hide a pressure dial — often at the top left, sometimes inside the arm — and it sits at maximum from the day the machine arrives. Too much downward pressure flattens the fabric against the feed dogs and stretches knits and fine wovens as they pass under the foot. Reduce the pressure a step or two for jersey, silk and light cotton and the feeding becomes noticeably smoother. Machines without a dial still respond to a fresh needle and a walking foot, so don't feel you have run out of options.
Some fabrics pucker because the seam is asking too much of them. Fine silk, chiffon, viscose and any thin stretch fabric need a little scaffolding. A strip of lightweight tear-away stabiliser or a layer of tissue paper under the seam, torn away after stitching, keeps the fabric from being pushed down into the needle plate.
Two more habits worth building. Press the fabric before cutting — a creased or slightly stretched piece will never sew straight — and pre-wash wovens that will be washed later, since shrinkage after the seam is sewn shows up as puckering along the stitching. When you are easing one layer into another, such as a sleeve head into an armhole, sew with the fuller layer underneath, against the feed dogs; the machine will feed the extra fabric in gently instead of shoving it into a row of tucks. On curves, staystitch just inside the seam line before joining anything, and clip the allowance afterwards so it can spread.
When a seam puckers, work through this sequence on a scrap of the same fabric, two layers, sewn in the same direction as the grain:
Keep a small card in the drawer with the needle, stitch length and tension that worked for each awkward fabric in your stash. It saves you repeating the whole experiment six months later, on the same silk, with the same result.
Photo: Alex Andrews / Pexels
A beginner-friendly, step-by-step guide to sewing a lined tote bag, from choosing fabric and cutting panels to...
A practical pre-start guide to crochet gauge, hook sizing, and yarn preparation, with a checklist to help you avoid...
A practical guide to buying wool across Italy: the wool districts worth visiting, the fairs worth planning around,...

Patient threads for handmade textile crafts.
