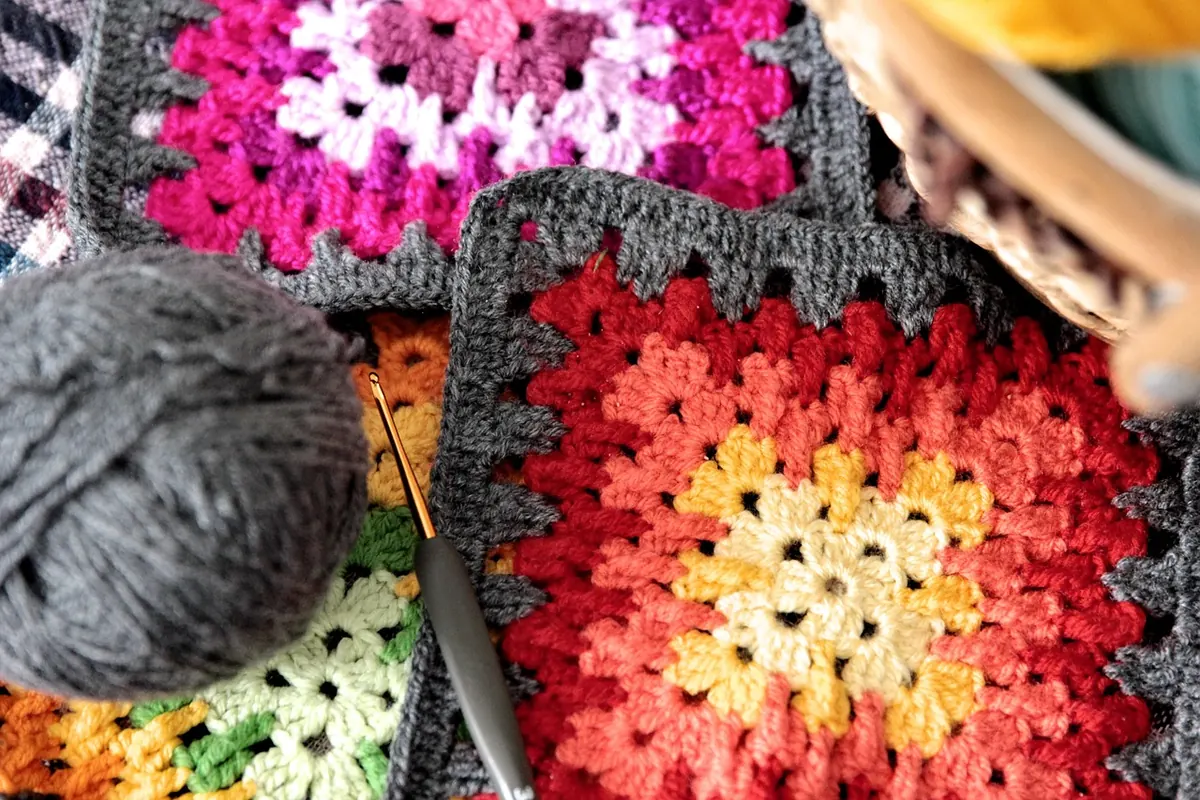
The first thing to understand about a granny square is that it isn't a test. It is a small, slightly wobbly piece of fabric made from three stitches repeated in a circle, and it forgives almost everything — uneven tension, a hook you guessed at, a colour you now regret. Most people make one ugly square, then a decent one, then six more while the kettle boils. Give it half an hour, keep your expectations low and your yarn light-coloured, and you will end up with something recognisably square.
You do not need a full set of hooks or a stash. You need a small, forgiving setup that lets you see what you are doing.
Set the ball beside you so it feeds from the outside, not from a tangle. Nothing kills a first attempt faster than chasing a rolling ball across the floor mid-round.
There are two grips. The pencil grip holds the hook like a pen, thumb and forefinger close to the head. The knife grip holds it from above, hand over the hook. Both are correct; try each for a minute and keep the one that feels less like a cramp. If you are left-handed, mirror everything — the square does not care.
The yarn hand does the quiet work. Run the working yarn from the ball over your index finger, under your middle and ring fingers, and hold the tail against your palm with your little finger. You are not gripping. You are creating a gentle drag so the yarn feeds at an even rate. That drag is your tension, and tension matters far more than speed.
Hold the slip knot between thumb and middle finger of your yarn hand, close to the hook, and let the hook do the reaching. Most beginner tension problems come from moving the whole hand instead of the wrist and fingers.
A basic granny square uses only these. Learn them in this order and the rest is repetition.
Chain (ch). Yarn over the hook, pull that loop through the loop already on your hook. That is one chain. Chains are the scaffolding: they start the round and they form the gaps at each corner.
Slip stitch (sl st). Insert the hook into the stitch, yarn over, and pull through both the stitch and the loop on your hook in one movement. It makes almost no height. You use it to close each round.
Double crochet (dc). This is American terminology. In UK patterns the same stitch is called a treble (tr) — if a pattern seems to produce a much taller fabric than you expected, check which convention it uses before you start. To work one: yarn over, insert the hook into the space, yarn over and pull up a loop so you have three loops on the hook. Yarn over, pull through two loops. Yarn over, pull through the last two. One double crochet made.
Practise ten of them on a scrap chain before starting the square. Not because you need perfection, but because the motion should stop feeling like a puzzle.
Chain 4 and join with a slip stitch into the first chain to make a ring. Chain 3 — this counts as your first double crochet — then work 2 double crochet into the ring. Chain 2. That chain-2 is your first corner.
Now repeat this three more times inside the same ring: 3 double crochet, chain 2. Join with a slip stitch into the top of the starting chain-3.
You should have four clusters of three stitches and four chain-2 gaps. Pull the tail gently to close any hole in the middle.
Slip stitch across the tops of the next two stitches and into the nearest corner gap. Everything from here happens in the gaps, never in the stitches themselves — that is the whole trick of a granny square.
Slip stitch into the next corner gap. Work a corner exactly as before: chain 3, 2 double crochet, chain 2, 3 double crochet. Chain 1.
Now you will meet a new kind of gap — the chain-1 space along the side of the square, between two corners. Work 3 double crochet into it, then chain 1. Carry on to the next corner and repeat. Each side of your square now reads: corner, chain 1, side cluster, chain 1, corner.
Join, fasten off, and you have a granny square. Three rounds is a good first target; every extra round adds one more side cluster per side, so the square grows by twelve double crochet each time.
It probably will, slightly. Here is what the common problems mean.
Lay the square flat on a table after every round. Fixing a mistake two rounds back is tedious; fixing it immediately takes ten seconds.
Cut the yarn about 15cm from the work and pull the tail through the last loop to secure it. Thread the tail onto a tapestry needle and run it through the back of several stitches, changing direction once so it cannot work loose. Do not knot it — knots work their way out of crochet and leave hard bumps.
If you have time, spritz the square lightly with water, pin it into a neat square on a towel and leave it to dry. This is blocking, and it makes a wobbly square noticeably more even. It also makes a real difference later, when you join squares together and want the corners to line up.
Aim for one square of three rounds, not a full cushion cover. If you finish in twenty minutes, make a second one with the same yarn and compare — the improvement between square one and square two is usually startling. If it takes you fifty minutes, that is also fine; the second one will be faster.
Keep the first square. Put it in a drawer rather than the bin, because in a month you will look at it and see exactly how far your hands have come. From here, the natural next steps are joining squares with a simple slip stitch seam, and learning one taller stitch so you can vary the texture. Neither requires new equipment — just the same hook, the same three stitches and a bit more patience with yourself.
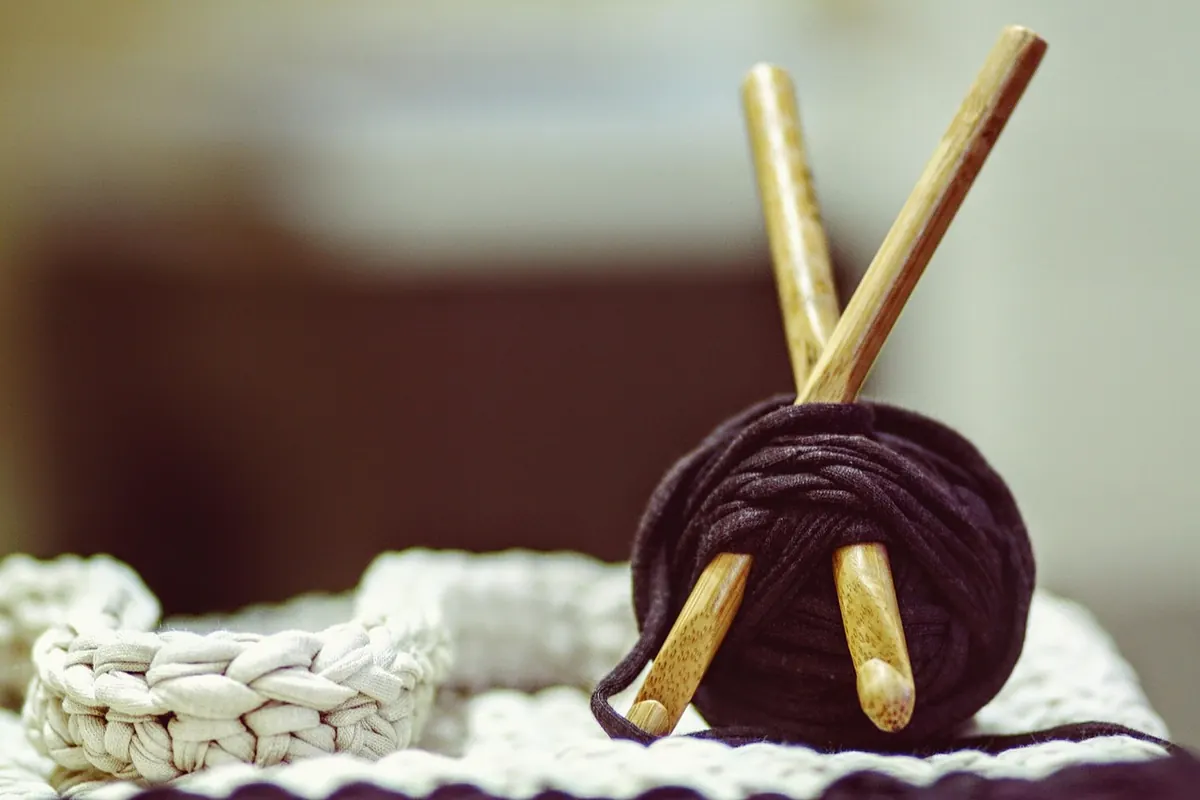
Photo: begonvilliev / Pixabay
A beginner-friendly, step-by-step guide to sewing a lined tote bag, from choosing fabric and cutting panels to...
A practical pre-start guide to crochet gauge, hook sizing, and yarn preparation, with a checklist to help you avoid...
A practical guide to buying wool across Italy: the wool districts worth visiting, the fairs worth planning around,...

Patient threads for handmade textile crafts.
